Rubber Gym Flooring Guide: Tiles vs Rolls vs Mats for Home Gyms

As an Amazon Associate I earn from qualifying purchases. Prices and availability are accurate as of the date/time indicated and are subject to change.
🔍 How this guide was put together (Editorial Standards)
This guide compares options using published manufacturer specifications, patterns in publicly visible owner reviews, and reputable expert sources. We do not operate a physical testing lab; see our how-we-research page for details.
EDITOR'S PICKS
Top Picks


📑 Table of contents
Flooring is the piece most people buy last and regret first. You spend weeks choosing a rack and a set of dumbbells, then drop a loaded barbell onto bare concrete and either crack the slab, wreck the plates, or wake the whole house. Good rubber flooring protects your floor, your equipment and your joints — but “rubber flooring” isn’t one thing. There are three real formats, and the right one depends on your budget, your subfloor and how heavy you actually lift. Here’s how to choose.
The three formats, quickly
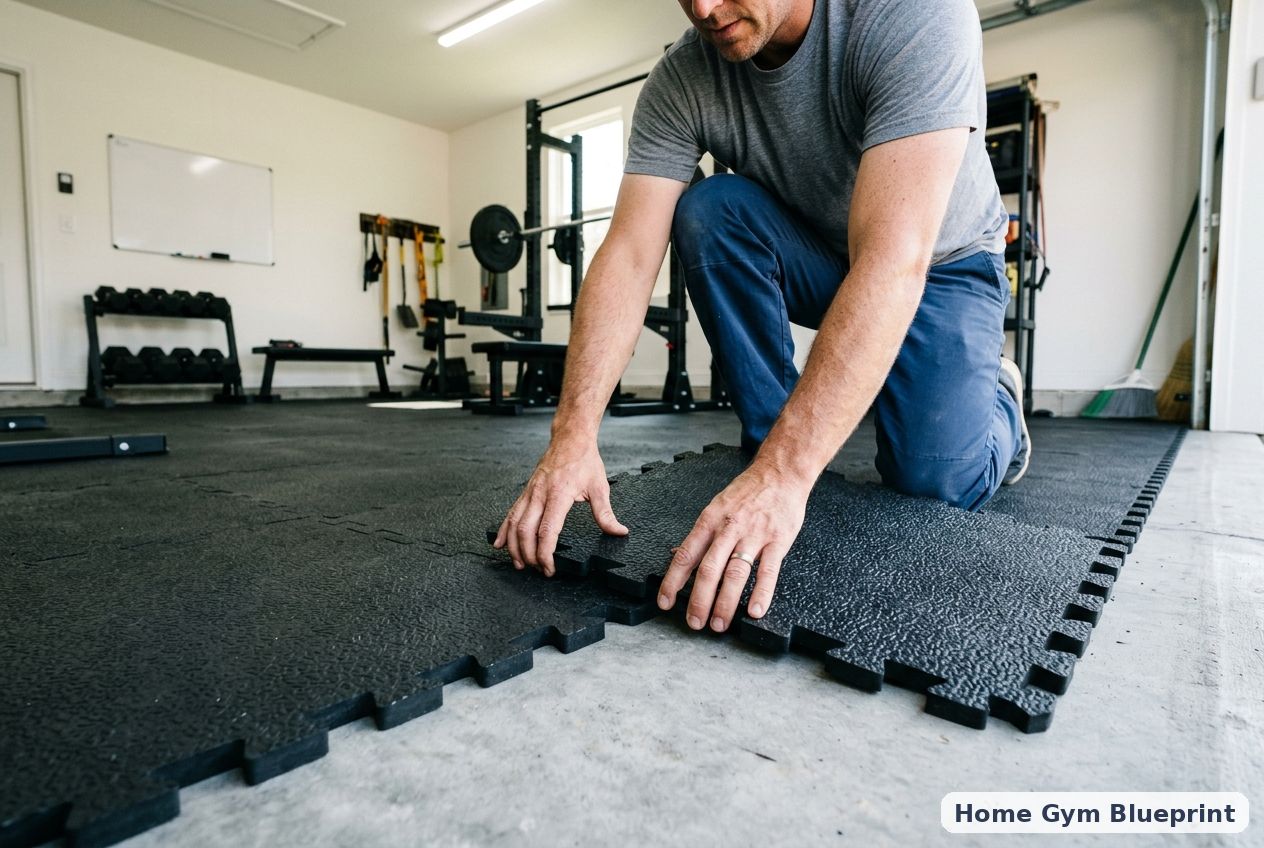
- Interlocking tiles — puzzle-edge squares (usually 2×2 ft) that snap together. No glue, easy to carry, easy to replace one damaged square. The default for most garage gyms.
- Rolled rubber — long continuous rolls you cut to fit. Fewer seams, a more finished look, and the most cost-effective way to cover a large floor edge to edge.
- Drop mats & horse-stall mats — thick, heavy standalone pads you place only where the load lands (under a rack, a platform, or a bench). Cheapest per pad, but they don’t cover a whole room.
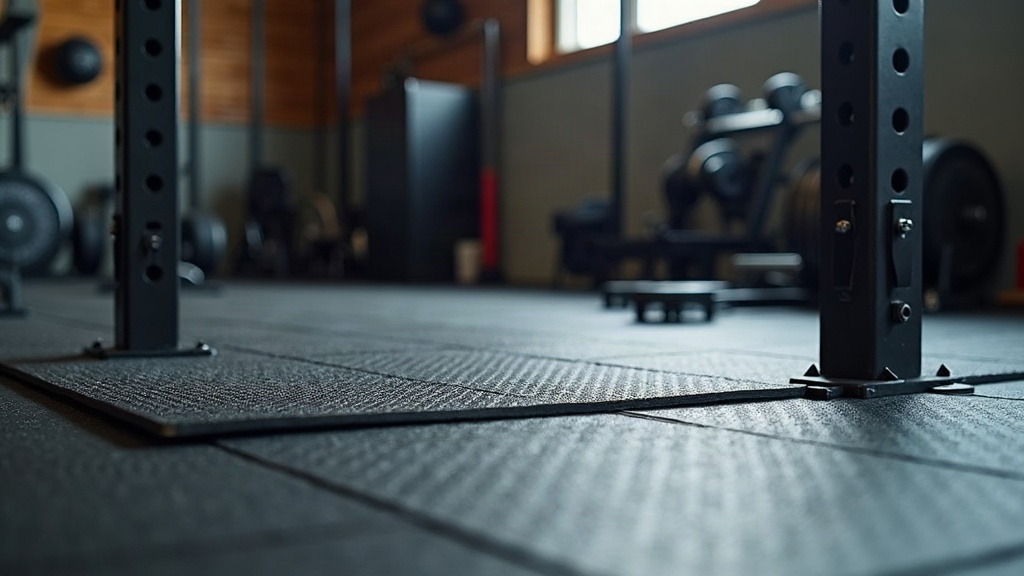
Interlocking tiles: the flexible default
Tiles win on convenience. You can lay a full garage in an afternoon with no adhesive, no special tools, and no professional help. Because they lock together, you can pull up one tile to run a cable, swap a chewed-up corner, or take the whole floor with you when you move — which matters if you rent.
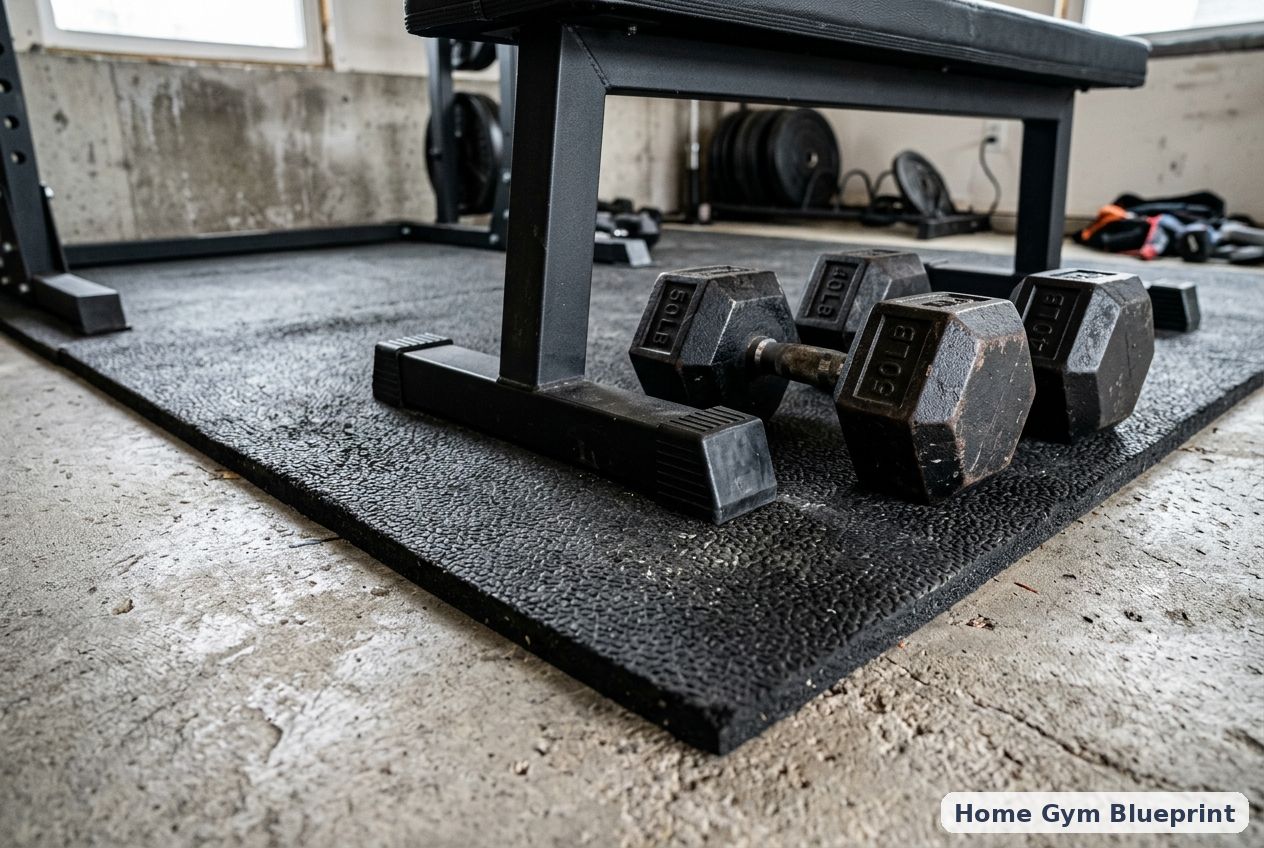
The trade-off is seams. Every tile edge is a line where sweat, chalk and dust collect, and a poorly cut border around a wall looks rough. For a mixed-use garage gym where you lift, do conditioning and occasionally rearrange, tiles are still the best all-rounder. If you’re still deciding whether you even need heavy equipment on that floor, our guide to whether you need a power rack will tell you how much load you’re actually planning for.
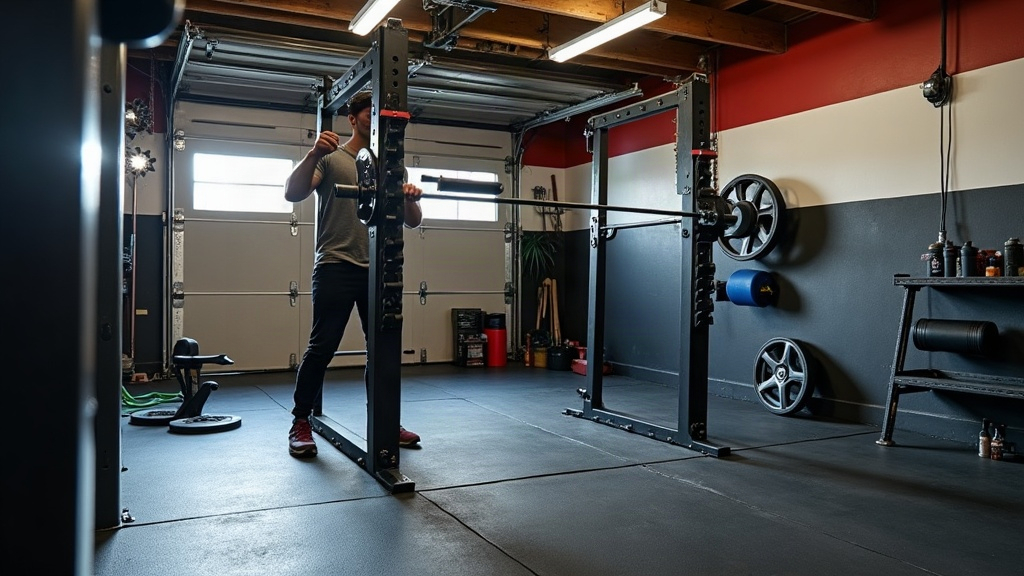
Rolled rubber: fewer seams, big spaces
Once you’re covering more than about 100 sq ft, rolls start to make sense. A single roll lays down a near-seamless surface that looks like a commercial gym floor and gives sweat and dust far fewer places to hide. Per square foot, rolls are usually the cheapest way to cover a large, fixed space.
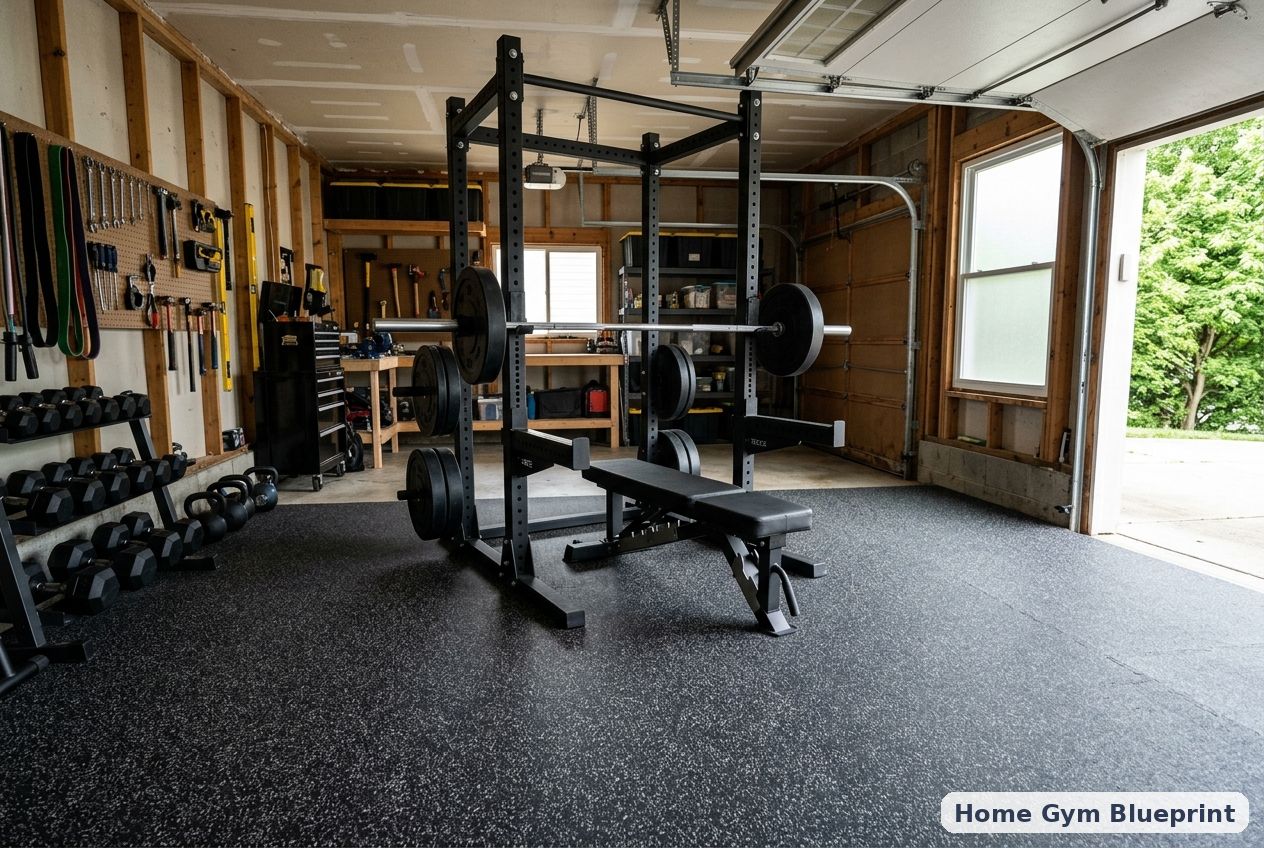
The catch is handling and permanence. A 4-ft-wide roll is heavy and awkward — you’ll want a second person — and for a clean job you’ll often glue or double-sided-tape it down, which makes it semi-permanent. Choose rolls when the room is dedicated to the gym and you’re not planning to move for a while.
Drop mats: cheap, targeted protection
If your budget is tight or you only lift in one spot, you don’t need to floor the whole room. A thick mat (or a pair of 4×6 ft horse-stall mats from a farm-supply store) placed under the bar catches the heaviest impacts for a fraction of the cost of tiling everything. This is the classic starter move for a minimalist setup — pair it with the essentials in our small home gym build plan and you can train seriously on a single mat.
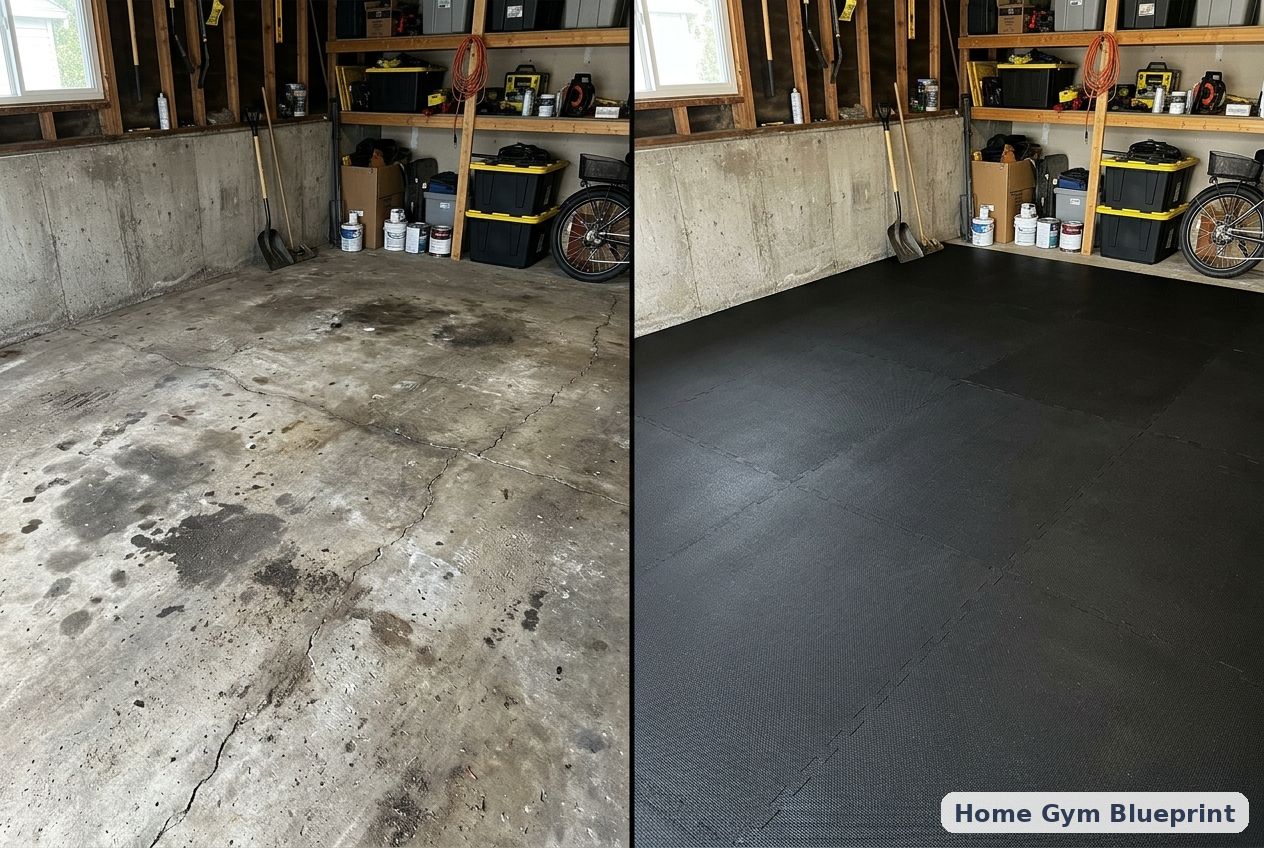
The downside is coverage: mats shift if they’re not weighted down, leave hard gaps at the edges, and look patchy. They protect the slab, not the whole room.
Thickness: the number that actually matters
Format is a preference; thickness is a requirement. This is where most people under-buy.
- 1/4 in (6 mm) — light home use, bodyweight work, cardio machines. Fine under a treadmill, not enough under a loaded barbell.
- 3/8 in (10 mm) — the sweet spot for general home gyms with dumbbells, a bench and moderate lifting. Good sound-dampening and joint comfort.
- 1/2 in to 3/4 in (12–20 mm) — for Olympic lifting, dropping loaded barbells, or protecting a suspended (non-slab) floor. Thicker rubber absorbs the shock that cracks concrete and cuts the boom that travels through a house.
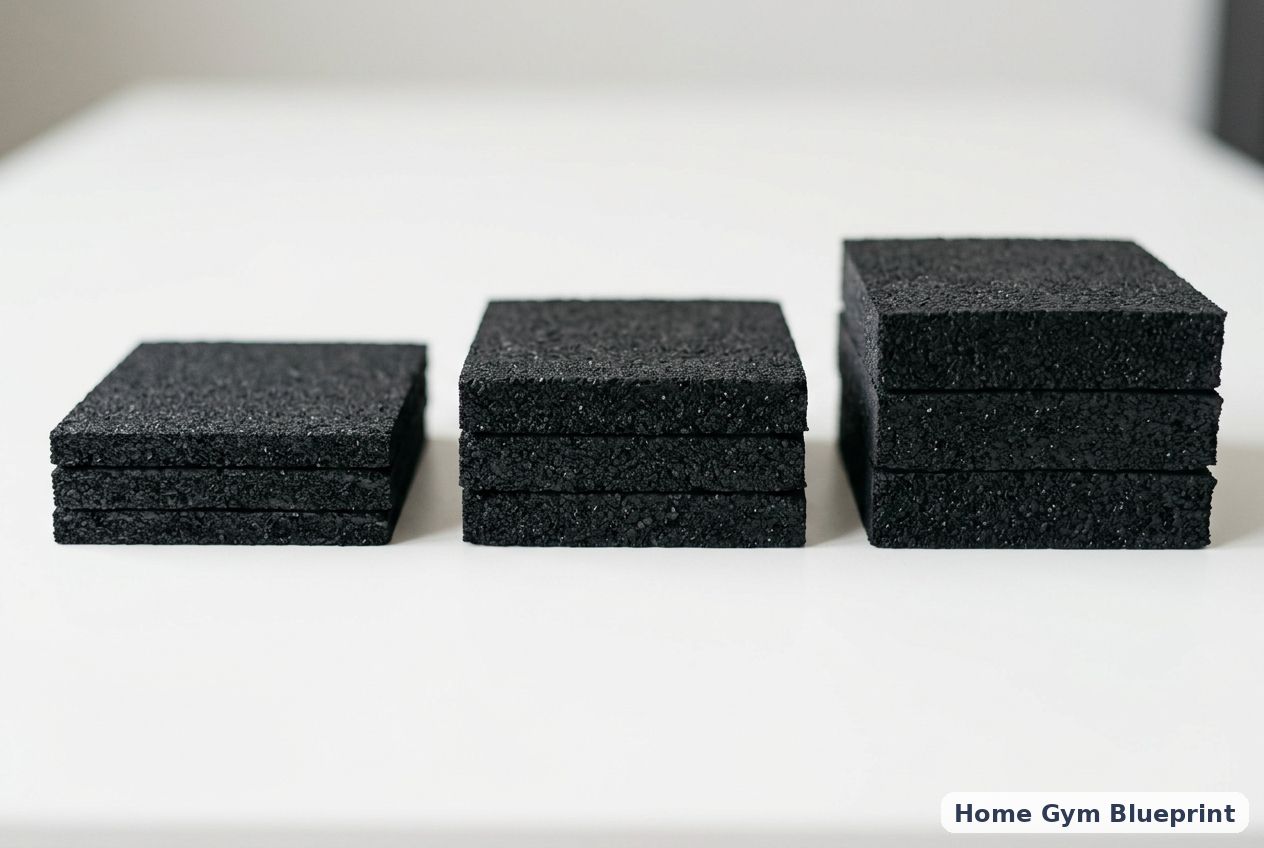
If you deadlift heavy or plan to drop weights, build a dedicated lifting platform or go 3/4 in under the bar and thinner elsewhere. It’s cheaper than repairing a slab. And if you’re still working out how heavy your training will actually get, our guide to how much weight you need helps you size the floor to the load.
📚 Related In-Depth Analysis
- Compare findings with our guide on Can You Build Muscle With Just Dumbbells.
- Compare findings with our guide on Compact Cable Machine For Home Gym.
📚 Related In-Depth Analysis
- Compare findings with our guide on How Much Weight Do You Need Home Gym.
- Compare findings with our guide on How To Build A Small Home Gym.
🔧 Interactive Planning Tool
Need exact measurements for your setup? Use our Gym Floor Clearance & Cable Arc Estimator to Estimate ceiling height clearance and lateral plate-loading space required.
Which one should you buy?
- Renting or rearranging often → interlocking tiles.
- Dedicated room, big floor, want it seamless → rolled rubber.
- Tight budget or one lifting spot → drop mats under the bar.
- Dropping heavy barbells → thick rubber (1/2–3/4 in) or a platform, whatever the format.
Get the thickness right first, then pick the format that fits how you’ll use the room. Cheap flooring that’s too thin is the one gym purchase you’ll pay for twice — once when you buy it, and again when you crack the slab underneath.
Related: Choosing garage vs spare room